
Knowledge about lanterns
How to Install Custom Chinese Lanterns on Soil (Zoo & Park Guide)
Installing custom Chinese lanterns on soil—whether in a zoo, botanical garden, or park—requires balancing stability with respect for the natural environment. Unlike concrete or water, soil is soft and prone to shifting, so the right approach ensures your lanterns stay secure without damaging plants, roots, or underground utilities. Below is our proven, step-by-step process for soil lantern installation, based on 10+ years of installing lanterns for global clients (from small zoo decorations to large park festivals).
1. Pre-Install Survey: Check Soil & Surroundings
Before bringing tools on-site for soil lantern installation, spend 1–2 hours assessing the area—this avoids costly delays later.
- Soil Type Test:
- Dig a small 30cm-deep hole to check if the soil is clay, sand, or loam:
- Clay soil: Holds shape when squeezed (good stability for soil lantern installation, but may crack in dry weather—add extra stakes).
- Sandy soil: Falls apart easily (needs wider stakes to prevent sinking for soil lantern installation—use 20cm×20cm square steel stakes).
- Loam soil: Crumbles slightly (ideal for soil lantern installation—standard 15cm×15cm stakes work).
- Dig a small 30cm-deep hole to check if the soil is clay, sand, or loam:
- Underground Utility Check:
- Contact the venue’s maintenance team to mark underground pipes, wires, or irrigation systems. We use a handheld utility detector (included in our soil lantern installation kit) to double-check—drilling into a water pipe can shut down your soil lantern installation project for days.
- Plant Root Protection:
- For gardens or zoos with sensitive plants, mark the root zone (usually 1–2 meters around the base of trees/shrubs). We never drive stakes within this zone during soil lantern installation—instead, we adjust the lantern’s position or use weighted bases (see Section 4) if roots block the ideal spot.
2. Tool & Material List (Soil-Specific)
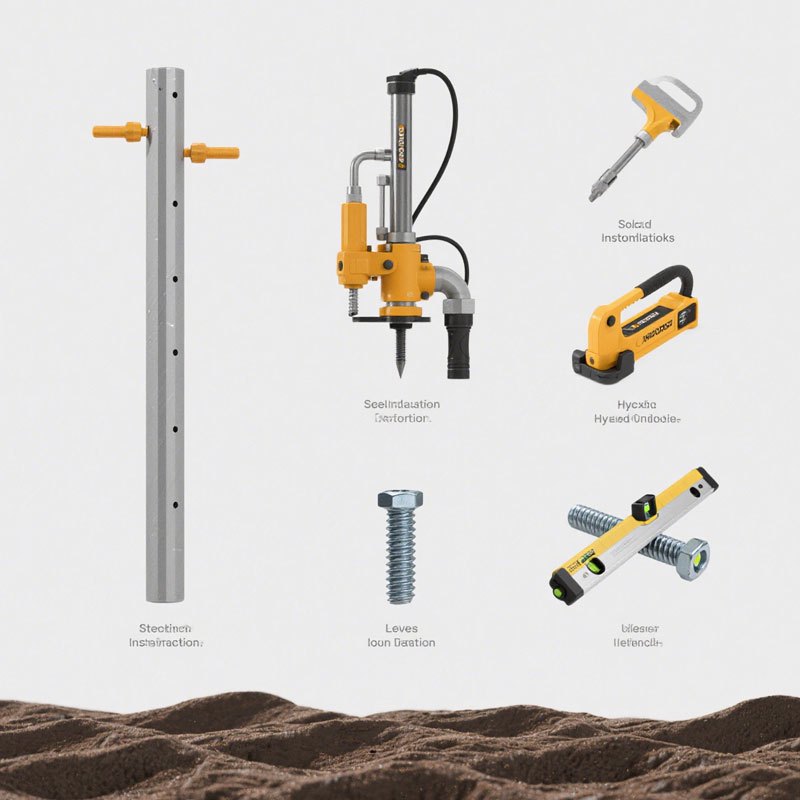
You don’t need fancy equipment for soil lantern installation—we bring all these tools with us for global projects, but it helps to know what to expect:
- Stakes:Steel angle or square stakes (length depends on lantern height for soil lantern installation: 1m for 2m-tall lanterns, 1.5m for 3–5m lanterns).
- Driving Tool:A hydraulic pile driver (quiet, so it doesn’t disturb zoo animals or park visitors during soil lantern installation) or a sledgehammer (for small soil lantern installation projects).
- Fasteners:Welding machine (for permanent, heavy lanterns in soil lantern installation) or high-tensile bolts (for semi-permanent soil lantern installation setups, if you need to adjust the lantern later).
- Level Tool:A digital level (to ensure the lantern is straight—tilted lanterns look unprofessional and may be unstable in soil lantern installation).
- Root Guard:Thin metal plates (to place around stakes if you’re near small roots—prevents stake damage to roots during soil lantern installation).
3. Step-by-Step Soil Lantern Installation Process
Step 1: Mark the Lantern’s Footprint
For soil lantern installation, start by using spray paint or stakes to outline the lantern’s base (match the exact size of the lantern’s chassis). This ensures you drive stakes in the right spots for soil lantern installation—too close, and you’ll block the chassis; too far, and the lantern won’t be secure.
Step 2: Drive the Steel Stakes
- For most soil types (loam, clay) in soil lantern installation, drive 4 stakes—one at each corner of the footprint—into the soil. The stakes should stick up 10–15cm above ground (enough to attach the chassis for soil lantern installation).
- For sandy soil in soil lantern installation, add 2 extra stakes (one on each long side) to prevent shifting. Taper the bottom of the stakes slightly (we do this at our factory) to make driving easier without breaking the stake during soil lantern installation.

Step 3: Attach the Lantern Chassis
- Lift the lantern’s chassis (use a small crane for large lanterns in soil lantern installation—we rent local equipment to save shipping costs) and align it with the stakes.
- For heavy lanterns (over 30kg, like large animal-shaped pieces) in soil lantern installation, weld the chassis to the stakes—this creates a permanent bond that resists wind and soil movement.
- For lighter lanterns (under 30kg) in soil lantern installation, use bolts: Drill holes in the chassis and stakes, then secure with high-tensile bolts (we use galvanized bolts to prevent rust in soil lantern installation).
Step 4: Check Stability & Level
- Use the digital level to confirm the chassis is straight (both side-to-side and front-to-back) for soil lantern installation. If it’s tilted, adjust the stakes—hammer them down slightly on the high side or add a small steel shim under the low side for soil lantern installation.
- Test stability for soil lantern installation: Gently push the lantern from 3 sides (front, left, right). It should not move more than 2cm—if it does, add an extra stake or tighten the bolts for soil lantern installation.
Step 5: Add Wind Support (For Lanterns Over 2.5m)
Soil can shift in strong wind, so lanterns over 2.5 meters need extra support in soil lantern installation:
- Attach 4 D-rings to the top of the lantern (one on each side) for soil lantern installation.
- Tie stainless steel cables to the D-rings, then anchor the other end to ground stakes (driven 1m deep, 2m away from the lantern) for soil lantern installation.
- Tighten the cables slightly—enough to hold the lantern steady, but not so tight that it warps the frame in soil lantern installation.
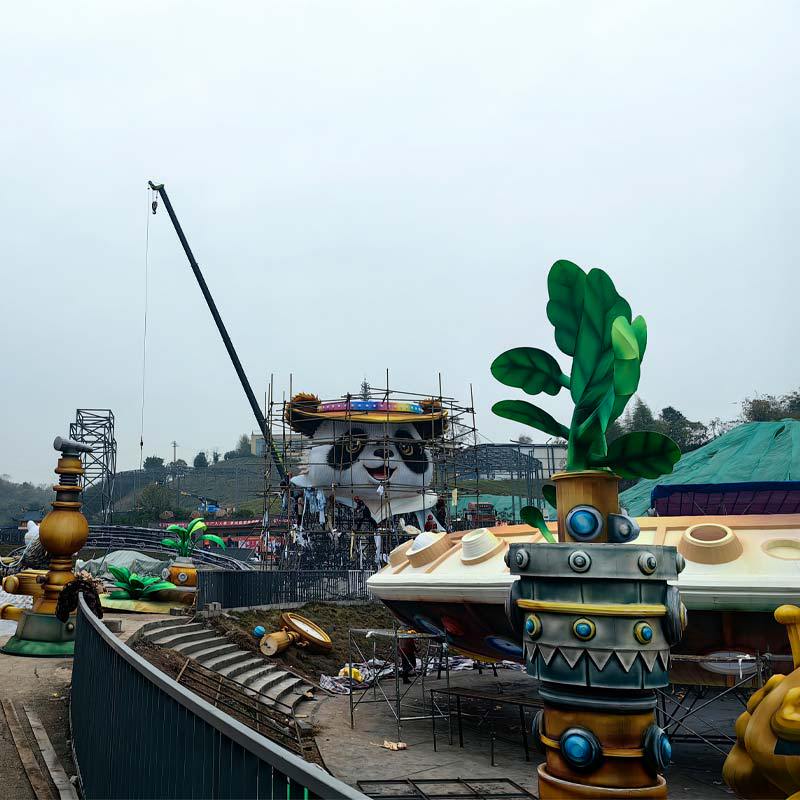
4. Case Study: Park Lawn Soil Lantern Installation (Hong Kong)

Last year, we completed a soil lantern installation project for a zoo in Ontario, Canada—installing 8 animal-shaped Chinese lanterns (coyote, deer, bear) on the zoo’s lawn. The soil was a mix of loam and sand, and the zoo required no damage to tree roots during soil lantern installation.
- Challenge:The ideal spot for the rabbits lantern was 1.5 meters from a tree—too close to drive stakes without hitting roots in soil lantern installation.
- Solution:For this soil lantern installation, we used a weighted base (60kg sandbags inside a steel tray) under the bear lantern’s chassis, then added 2 wind cables anchored to stakes 3m away (outside the root zone) to ensure soil lantern installation stability.
- Result:The lantern stayed stable through 3 months of rain and wind after soil lantern installation, and the tree showed no signs of root damage. The park rebooked us for their next year’s soil lantern installation project.
5. FAQs: Soil Lantern Installation
Q: Can we complete a soil lantern installation for a 5m-tall lantern on sandy soil?
A: Yes—for soil lantern installation of a 5m-tall lantern on sandy soil, use 20cm×20cm square stakes (driven 1.8m deep) and add 4 wind cables (instead of 2). We also recommend placing a layer of gravel around the stakes to prevent sand from shifting under the lantern during soil lantern installation.
Q: How do you avoid damaging irrigation systems in gardens during soil lantern installation?
A: During soil lantern installation, we work with the garden’s maintenance team to mark irrigation lines, then use a utility detector to confirm their location. If the lantern’s footprint overlaps with a line in soil lantern installation, we shift the lantern 30–50cm (usually enough to avoid the line) or use a weighted base instead of stakes.
Q: How long does soil lantern installation take for a single lantern?
A: For a 2–3m lantern, soil lantern installation takes 1–2 hours (survey + installation). For a 5m lantern with wind cables, soil lantern installation takes 3–4 hours. For multiple lanterns (e.g., 10 in a zoo), we can complete 5–6 soil lantern installations per day.
For more tips custom lantern setup for different venues (e.g., how to install water lanterns), visit our Installation method page. If you’re planning a park or zoo event and need soil lantern installation support, contact our team via Contact to schedule a virtual survey.